Install HBKU VPN- Global Protect for MAC for Students
Step 1: Download Global Protect (HBKU VPN)
- Visit this web address to start downloading the Global Protect(VPN) by either clicking on the link or copying and pasting it to your web browser: https://86.36.20.4/ Enter your HBKU username and password credentials
- Once you have input the information, a new screen will pop up allowing you to download according to your MAC OS 32/64 Bit GlobalProtect Agent
- Once downloaded, it will appear in your ‘downloads’ folder.
Step 2: Install Global Protect (HBKU VPN)
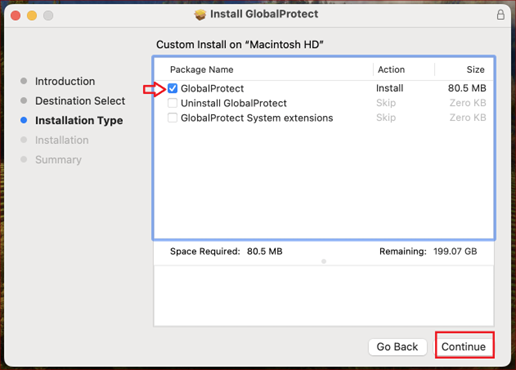
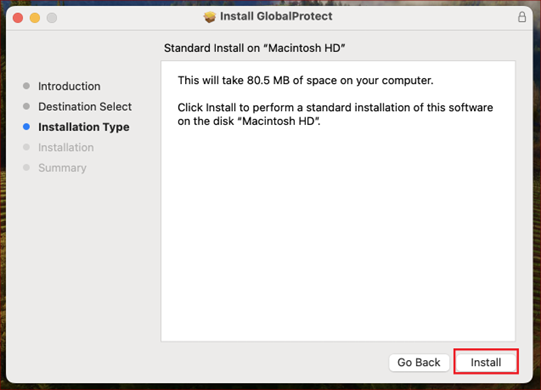
- Once the download is complete, you can install the VPN software by following these instructions:
- Click on ‘Continue’.
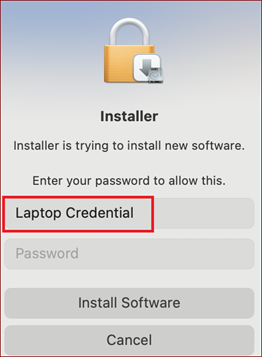
- Type in your system HBKU username and password and click on ‘Install Software’
- Before the software has completed installation, a dialogue box will appear. Select ‘Open Security Preferences’ and click on ‘Ok’
- Click ‘Allow’ to grant permission for the software to run on the machine.
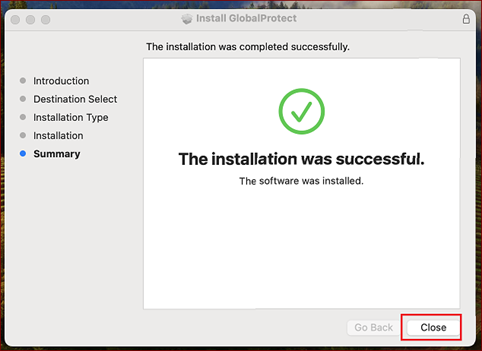
- Wait until the installation is complete.
- To install the certificate for the VPN, visit: https://hbkuedu-my.sharepoint.com/:f:/g/personal/melabd_hbku_edu_qa/ErxaWRONG0ZJpxi26xAHpdcBn_OBcBSvtX1N4-MC7crzFg?e=SGh0IL
- To install the certificate for the VPN, double click on ‘cert_Duovpn.crt’
- Select ‘System’ in the window that opens to you and then click on ‘Add’.
- When the certificate has been added to your keychain, you will be able to see the ’86.36.20.4’ certificate ‒ then double click on it.
- In the Trust section, select ‘Always Trust’, and then close the dialogue box
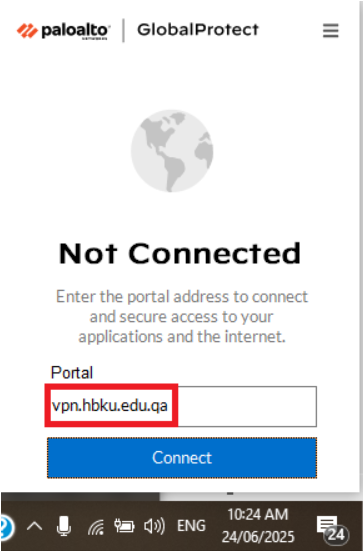
To connect to the VPN: the VPN Global Protect icon should appear on the upper right-hand side of the taskbar. Click on the icon, and when asked to enter the portal address type 86.36.20.4 and click ‘Connect’.
- You will be asked to input your HBKU username and password. For the username there is no need to write the entire HBKU email. Your username is the first part of your HBKU email, which are the letters before the ‘@hbku.edu.qa.’
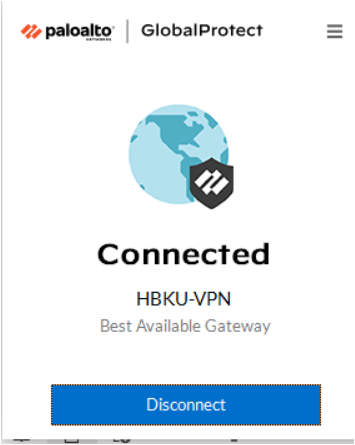
- Click ‘Sign In’. The VPN should now be connected.