Step 1: Download HBKU VPN-Global Protect
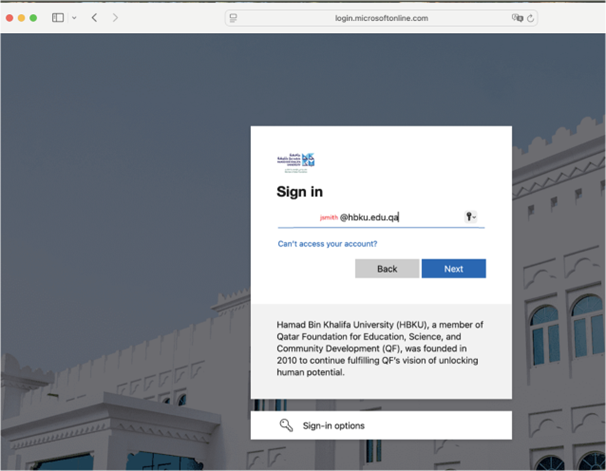
- Visit any browser and type vpn.hbku.edu.qa and enter or https://vpn.hbku.edu.qa/global-protect/getsoftwarepage.esp
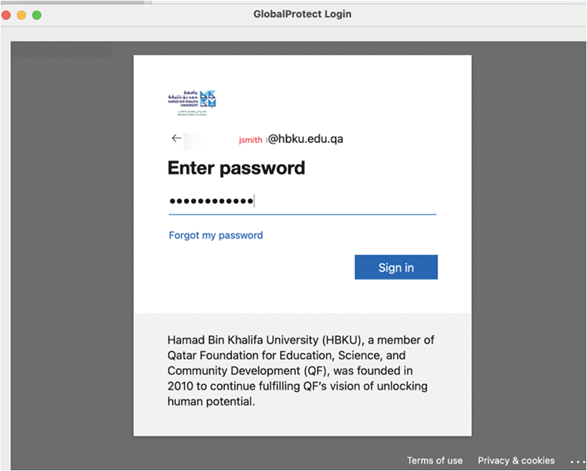
- Enter your HBKU email username and password.
- Download the 64-bit version of Global Protect.
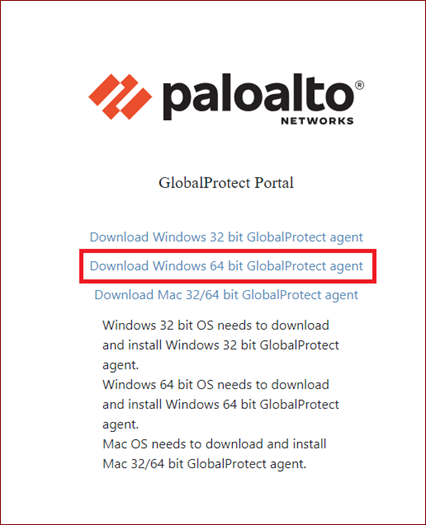
- Once downloaded, it will appear in your download folder as …\Downloads\ GlobalProtect64.msi file.
Step 2: – Install Global Protect VPN:
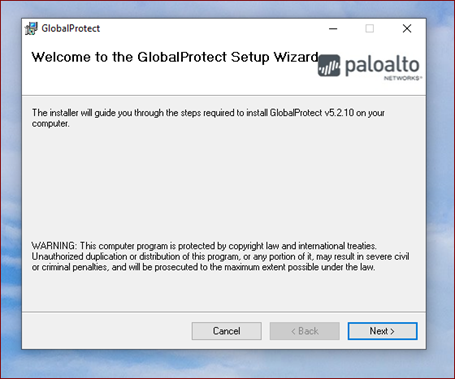
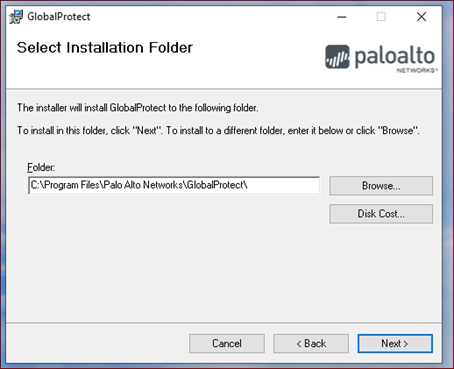
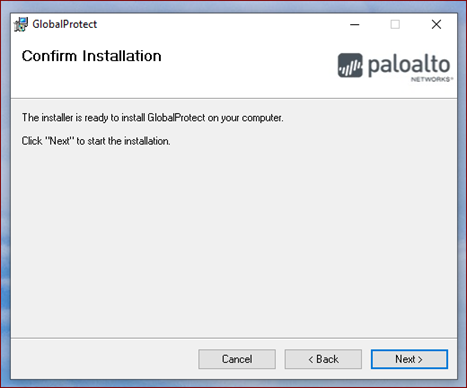
• Install GlobalProtect64.msi file.
• Click next to the following steps and close once completed.
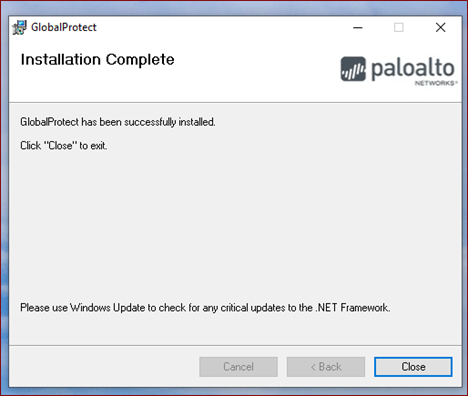
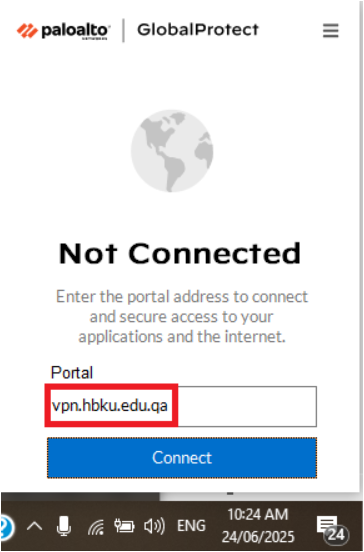
- Once the installation successfully finished ,open the Global Protect VPN Application and enter the portal address hbku.edu.qa and click Connect
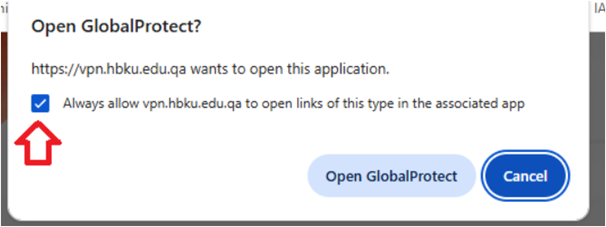
- Select the tick mark as below to allow vpn.hbku.edu.qa
- Enter your HBKU email username and password.
- Approve Duo Security Authentication.
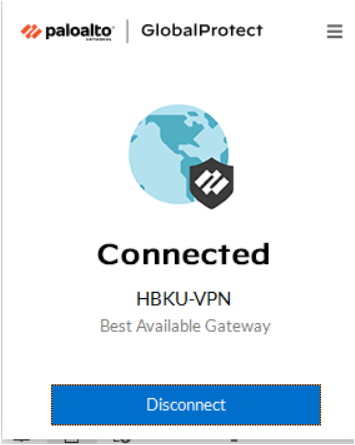
- It will show as connected once access is granted.