How to send an envelope through DocuSign?
Step 1: Add Document
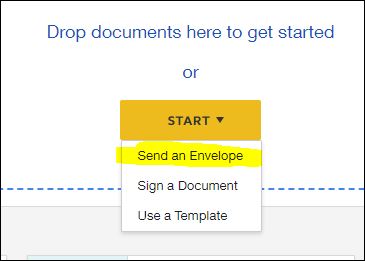
- Login to your DocuSign account. Click on the drop-down menu on your home page, Click on Start

- Click on ‘Send an Envelope’.
Note: Make sure the desired document is already prepared and saved in your device
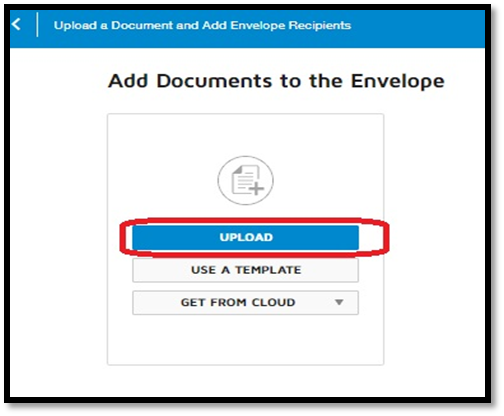
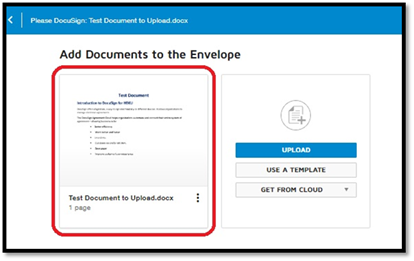
- Click on ‘Upload’ to upload the desired file from your device – you can use an existing template or upload from a cloud
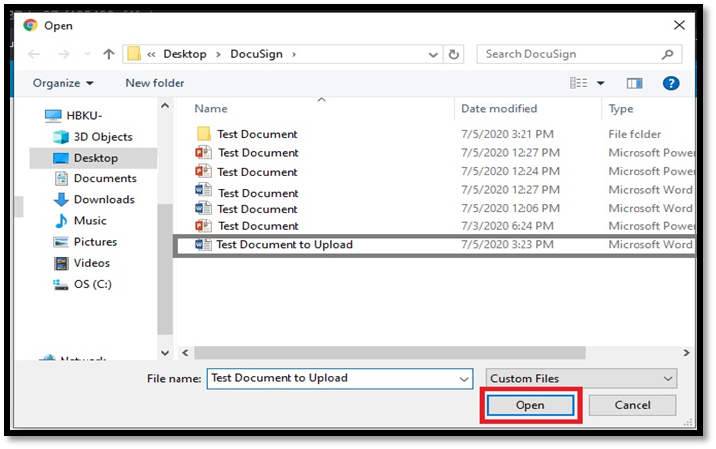
- Browse for the file on your device’s system, select the document and click on ‘Open’
- Your document will be added to the envelope accordingly.
Step: 2 Add Recipients
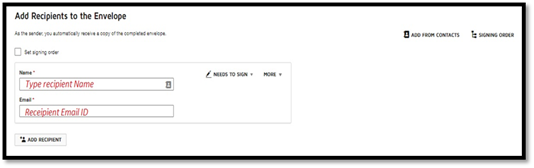
- While adding recipients, multiple steps need to be completed, including add recipients, assign ordering, choose action, add authentication access & private message, add custom message and advance options
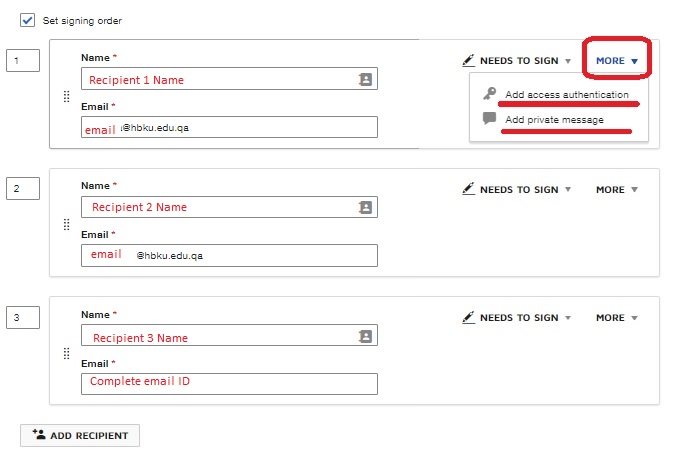
- Enter the recipient’s full name and email address. Both these fields are mandatory.
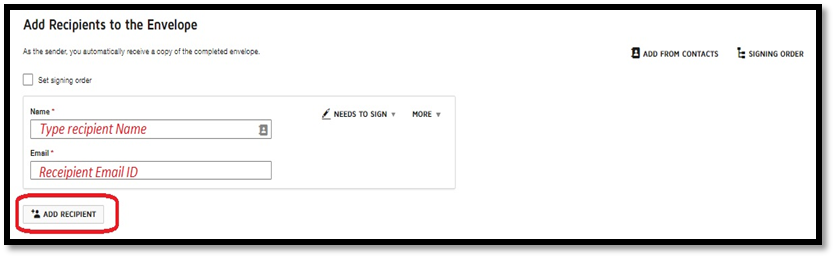
- To add more recipients, click on ‘Add Recipient.’ You can add any number of recipients; each recipient will be assigned a color
- To assign ordering of the workflow, check the box before ‘Set Signing Order’
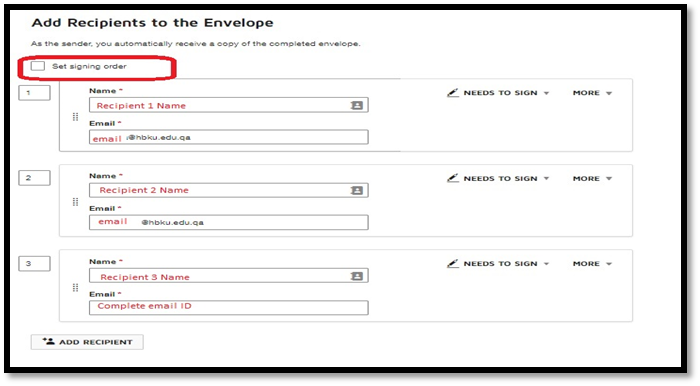
- Enter the numbers as per the workflow.

- For each recipient, choose whatever action – Sign/Receive a Copy/View Only/Sign with Notary – is required by clicking on the drop-down beside each recipient’s name.

- Optional: To add Authentication access or any private message to individual recipient click on ‘More’
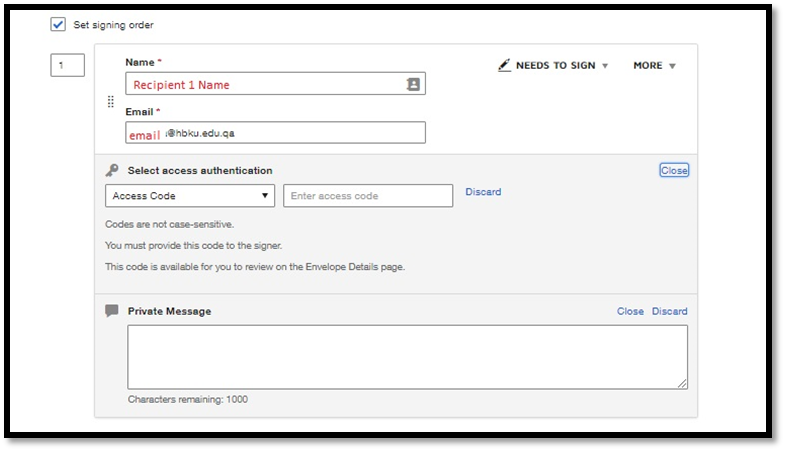
- When you click on access code authorization and private message, the below tab spaces will be displayed – enter ‘Access Code’ and ‘Private Message.’
- Note: The access code should be shared to the recipient and it will be available in Envelope details for sender only.
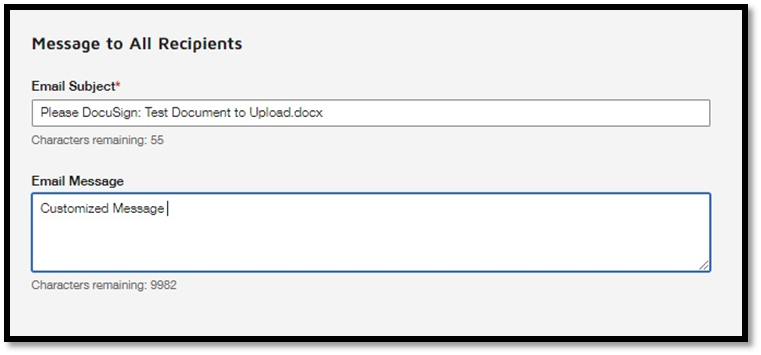
- To add Custom Message to all recipients, type in the desired ‘Email Subject’ and ‘Message for Recipients’ in the given fields. This will be displayed in the email notification
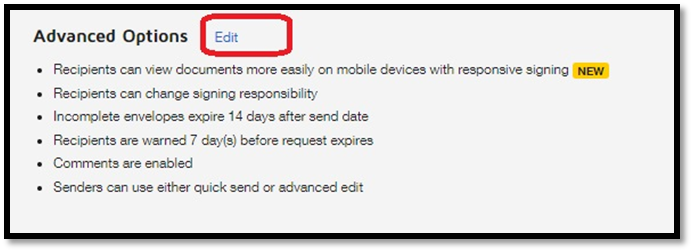
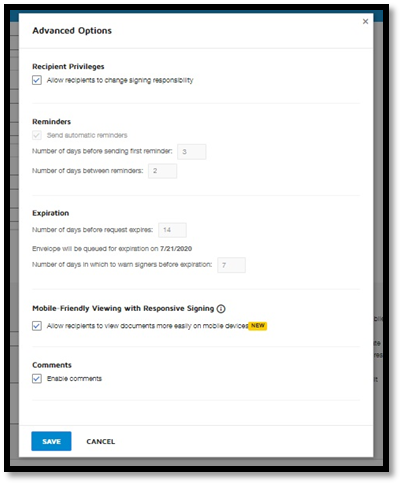
- Advance Options: To set reminders, expiration, allowing the envelope to be accessible on any device, and comments. Users can perform multiple actions through the settings:
- Beside Advanced Options, click on ‘Edit’.
-
- Check or Uncheck the different options that appear to you on the screen as per your needs and click on ‘Save’.
-
- Once all the details are entered, click on ‘Next’ at the bottom right corner to proceed to add fields.

Step 3: Add Fields
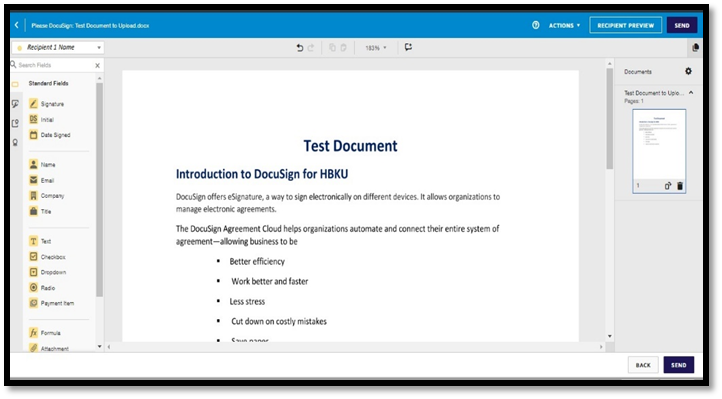
- Once a document and recipient are entered, a new page appears that includes fields that are required to be filled by the recipient, which can be added later
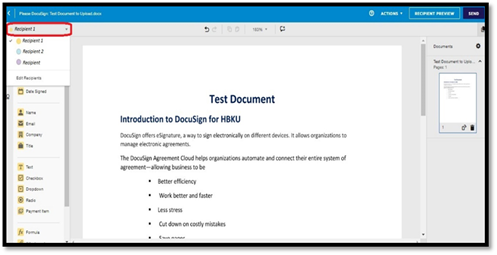
- Select a recipient from the drop-down on the top left corner of the new page.
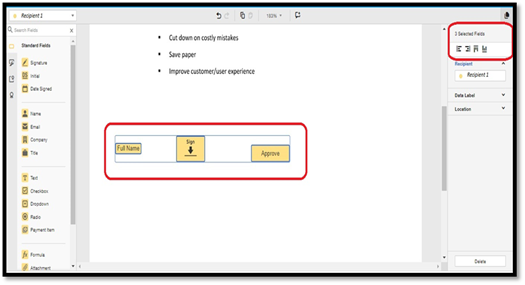
- For each recipient, add the required fields by dragging them from the left-hand side panel and drop on the document where you want them to be placed.
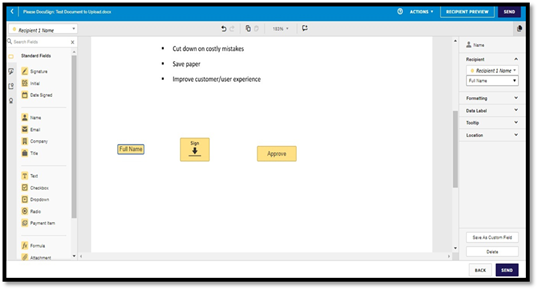
- To align the fields added, select around the fields, and choose alignment style from the top right-hand corner of panel.
Step 4: Send Envelope
- Add the required fields for each recipient, align them as necessary, and when ready to send, click on ‘Send’.
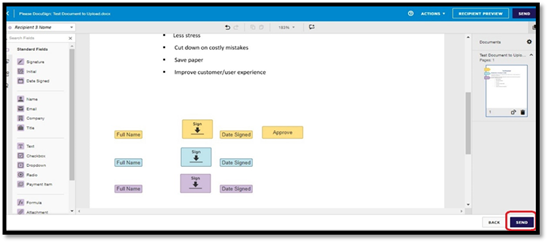
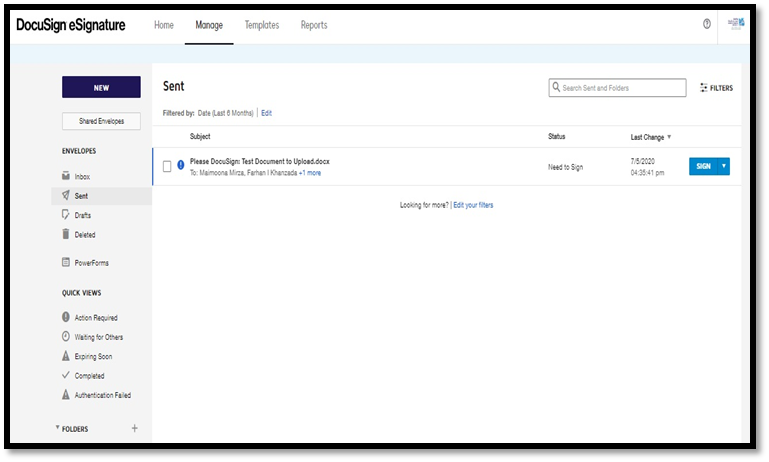
- Once the document is sent, it can be found in the ‘Sent Box’ under ‘Envelopes’.